Polyaspartic Floor Coating
RodvinCo. Polyaspartic floor coating is the most durable and functional on the market. It is the best solution for providing a long-lasting, UV stable, easy to clean and beautiful floor. It is seamless, very resistant to impacts and chemicals, and does not collect moisture or dirt.
As with everything, preparation is the key and this is where the RodvinCo. crew shines. We have the experience and desire to do the job right. We will exceed expectations. We are not done until you are very happy!
Advantages of our Polyaspartic Flooring:
- Chemical resistance to oil, gas, coolant, salt and household chemicals
- UV stable (doesn’t yellow or fade over time) and maintains a glossy finish
- Waterproof, durable and maintenance free
- Excellent resistance to abrasion and impact
- Textured surface provides more traction
- High heat tolerance compared with epoxy coatings to resist “hot tire pickup” (permanent tire marks)
- 1-day installation for standard garages
- Short return to service times / 12 hours foot traffic / 24-96 hours vehicle
- Decorative and available in wide range of colours and textures to match any decor
- Formulated for Canada with application year round / cures from -30°C to 40°C
Floor Preparation & Coating Application Process
Step 1: Surface Preparation
1. Floor preparation is where the critical time-consuming work is done to yield a beautiful, long-lasting floor. Your RodvinCo. team will diamond grind the entire surface with our upright grinders. Vertical surfaces such as foundation walls and wooden steps will be prepared with hand grinders.
Hairline cracks and other minor damage is then repaired. The cracks must be opened up with a cutting wheel and then filled with an epoxy or polyurea filler. After drying, this is sanded to be flat with the floor. We will also make “cut” lines with the cutting wheel if needed where the floor coating is to end. Commonly this would be under the overhead garage doors. All surfaces are now thoroughly vacuumed to make ready for the base coat.
Step 2: Apply Base Coat
The coloured polyaspartic base coat is now applied to the vertical surfaces and then to the floor. The colour of the base coat is dependent on the colour of the flakes chosen. Time is critical in this step as the base coat is very quick drying and the flakes need to be applied. As one RodvinCo. crew member applies the base coat, another will start broadcasting the polymer flakes on top.
Step 3: Broadcast Flakes
Flakes are everywhere! To ensure complete coverage we will broadcast three times the amount needed. This is an exciting time as you can see your floor come to life with the flake colours chosen – see link to colours. You begin to appreciate the transformation taking place!
After allowing about an hour to cure, our team will scrape off all the excess flakes. They will then take the blower to round up any random flakes and finally give the surface a good vacuuming.
Step 4: Apply Top Coat
The clear polyaspartic top coat is now squeegeed on and then rolled. We need to make sure we have excellent coverage and evenness. This final coat creates a beautiful luster and your floor transformation is complete. You just need to wait about 12 hours before walking on your beautiful floor and about 48-96 hours before you drive on it. Congratulations!
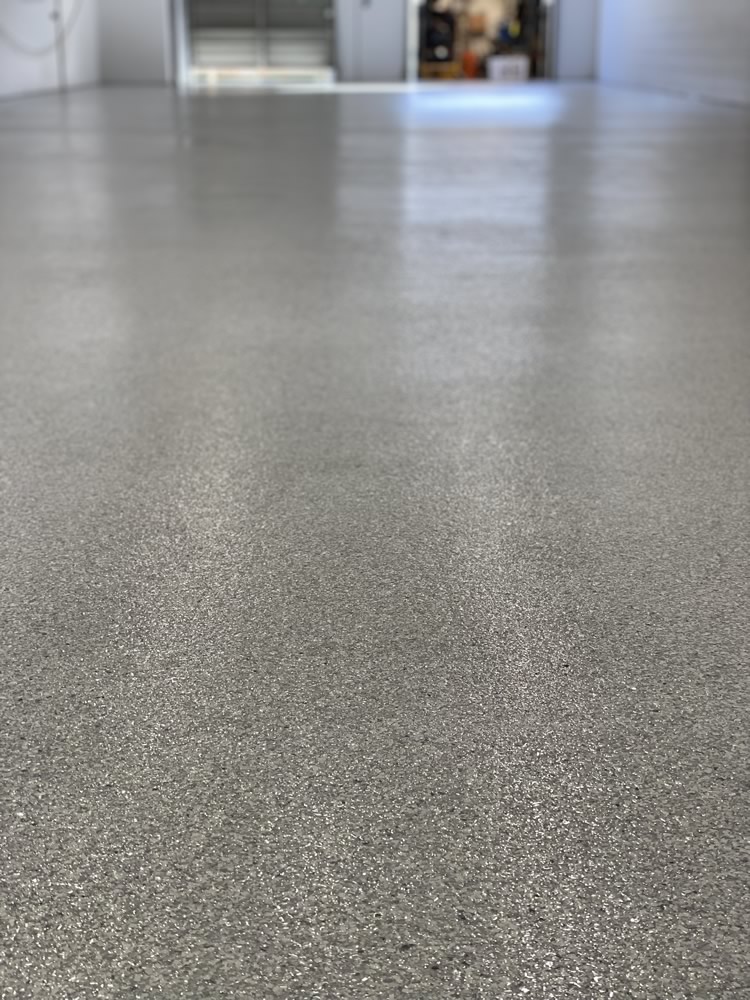
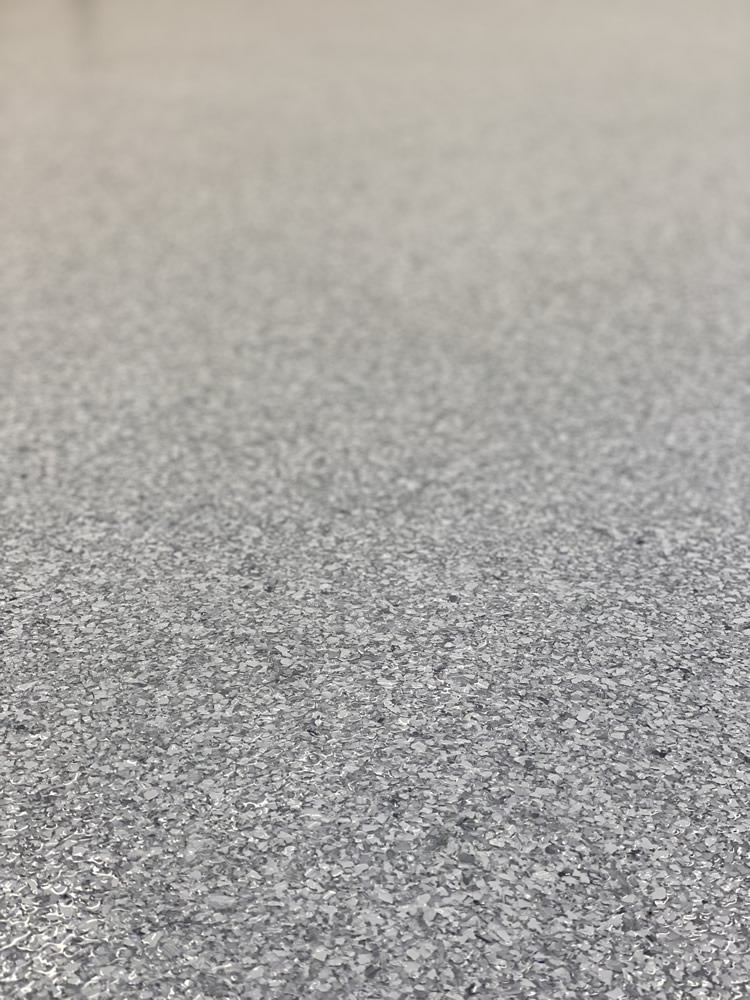
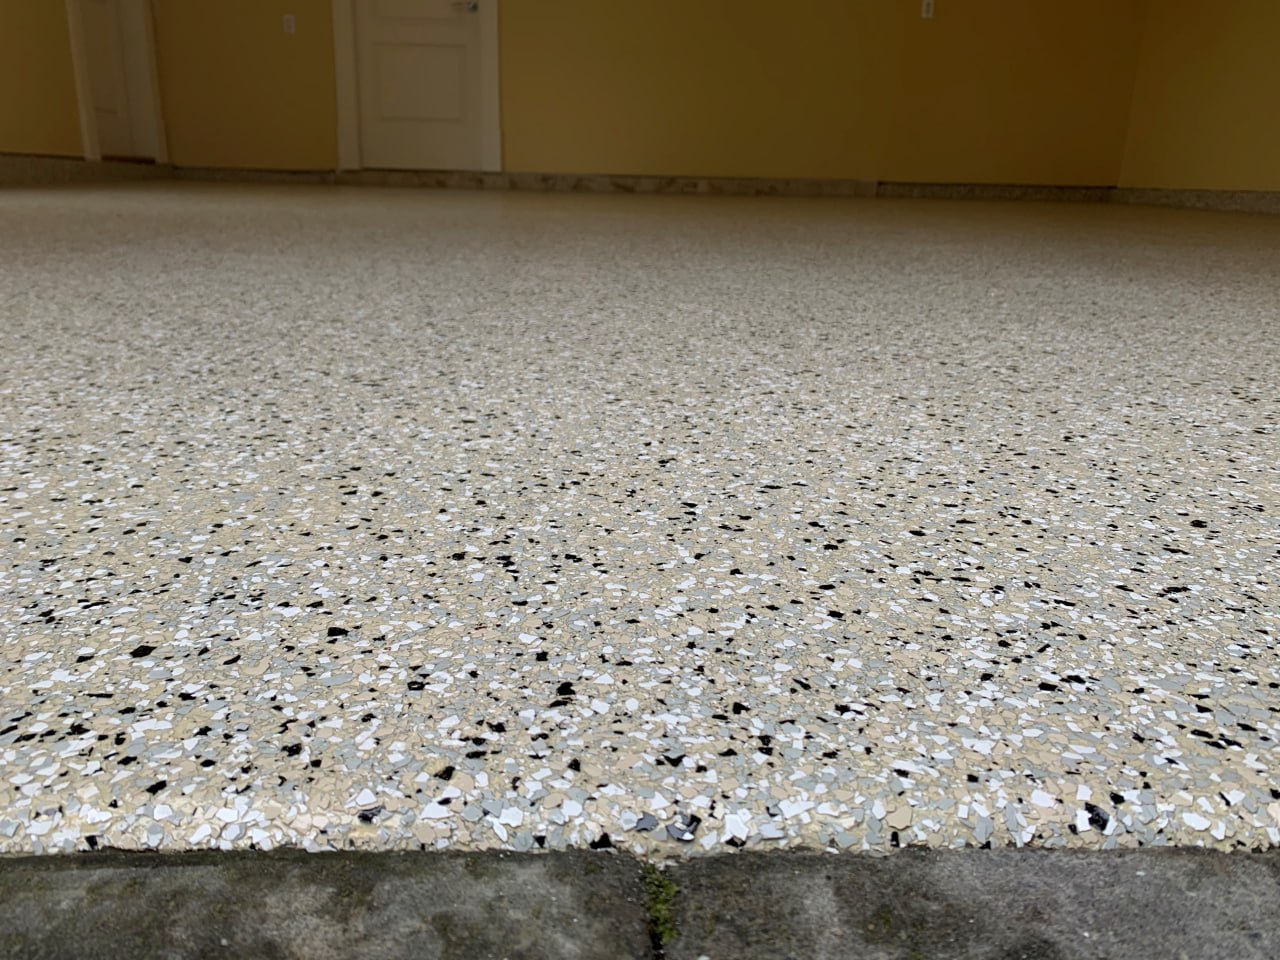
Floor Coating Colours
For garage flooring, polyaspartic coatings with coloured flakes or quartz are by far the most popular. Our most popular options are shown below but colour options are endless so please discuss your needs with us. Additionally, we provide metallic flooring solutions
- Flakes
- Quartz
- Glitter Flakes
- Flakes